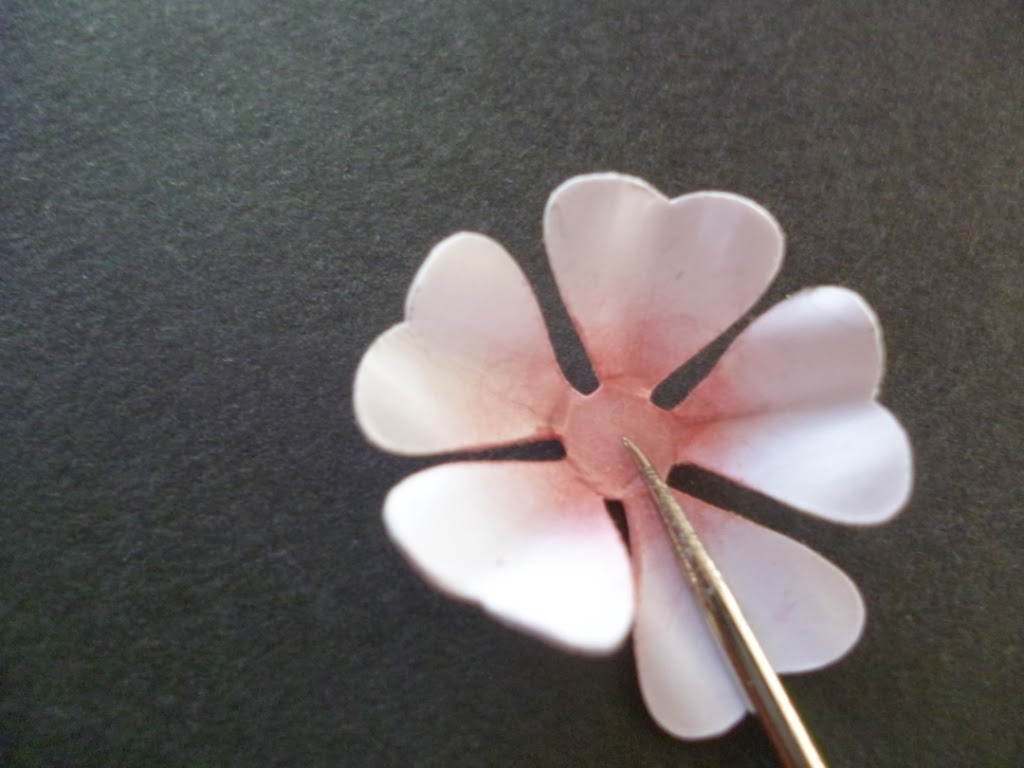
I have used a cutting file on my silhouette cameo that I made myself from a picture of a punch I think, but it was quite a long time ago, so I cannot remember what punch it was from. You could use other punches or dies, and several that would be ok to use would be the stampin up Flower shop bundle punch, the Cheery Lynn Sweet William die, the Carl Sakura punch, the punch bunch blossom punch etc. The only thing to realise is that if you are using something like the blossom punch, if the petals don't go very far in to the centre, you may need to cut them into the centre a little, as later when you have to fold it up, you won't be able to.
So here is the shape I used. I cut a bunch of them out on the silhouette cameo, but you need 10 of them for each flower.
The first thing you need to do is colour the centres of each flower, on both sides, this doesn't need to be terribly neat, as you just see a hint of colour on the inside of each of the petals when the flower is finished. I used a colour called old rose, a versacolor ink.
The next thing you need to do is shape and mold each of the petals on 9 of the flowers (you leave one that is not shaped), This give dimension and helps be able to fold the petals up. So I go around each flower and mold the two edges of each petal all around the flower on one side.
The next thing to do is flip the flower over, and mold the centre part of each petal all the way around the flower, you will see the petals begin to fold up as you go around.
Once you have finished all 9 flowers, you need to cup each of the flowers and lightly squeeze the ends.
You are now ready to put the flower together, So take the one flower that you haven't shaped, this will be a base for the flower. Put a dab of glue onto one side of a folded flower and glue it onto the base, positioning it to the edge of the outside of the base petals and staggered between two of the base petals, like the photo below.
You now work around the rest of the base, doing this with 4 more of the petals. this forms a rosette of petals but leaves a whole in the centre, like below.
Now with the final three petals, you are going to stick them onto the top of the base layer, sometimes you need to push them down into the gap in the middle, as they tend to want to sit up a bit higher. Just push them a little into the gap and they should look like the one below
This is completed, so just let it dry and it is ready to use on a card or a similar project.
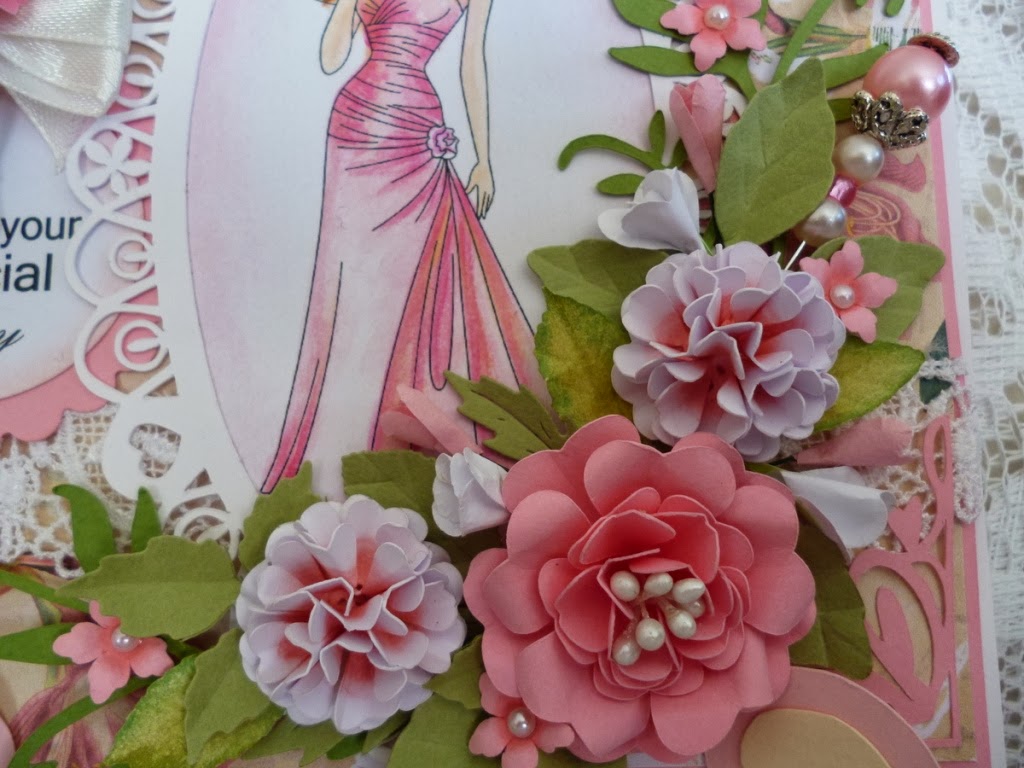
Here is an arrangement I used them on.
I hope you like them. I think depending on what die or punch you use, you can end up with a more frilly look like a carnation, especially if it has quite uneven or jagged edge to it.


1 comments:
the flowers are beautiful.
Post a Comment